This guide describes the basic steps to get started with Wasp Interdictor: PBR Ship and VR-Ready Cockpit Kit.
The kit has been tested with Unity Engine 5.3.6f1 and 5.4.1f1 Versions.
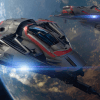
What This Package Includes
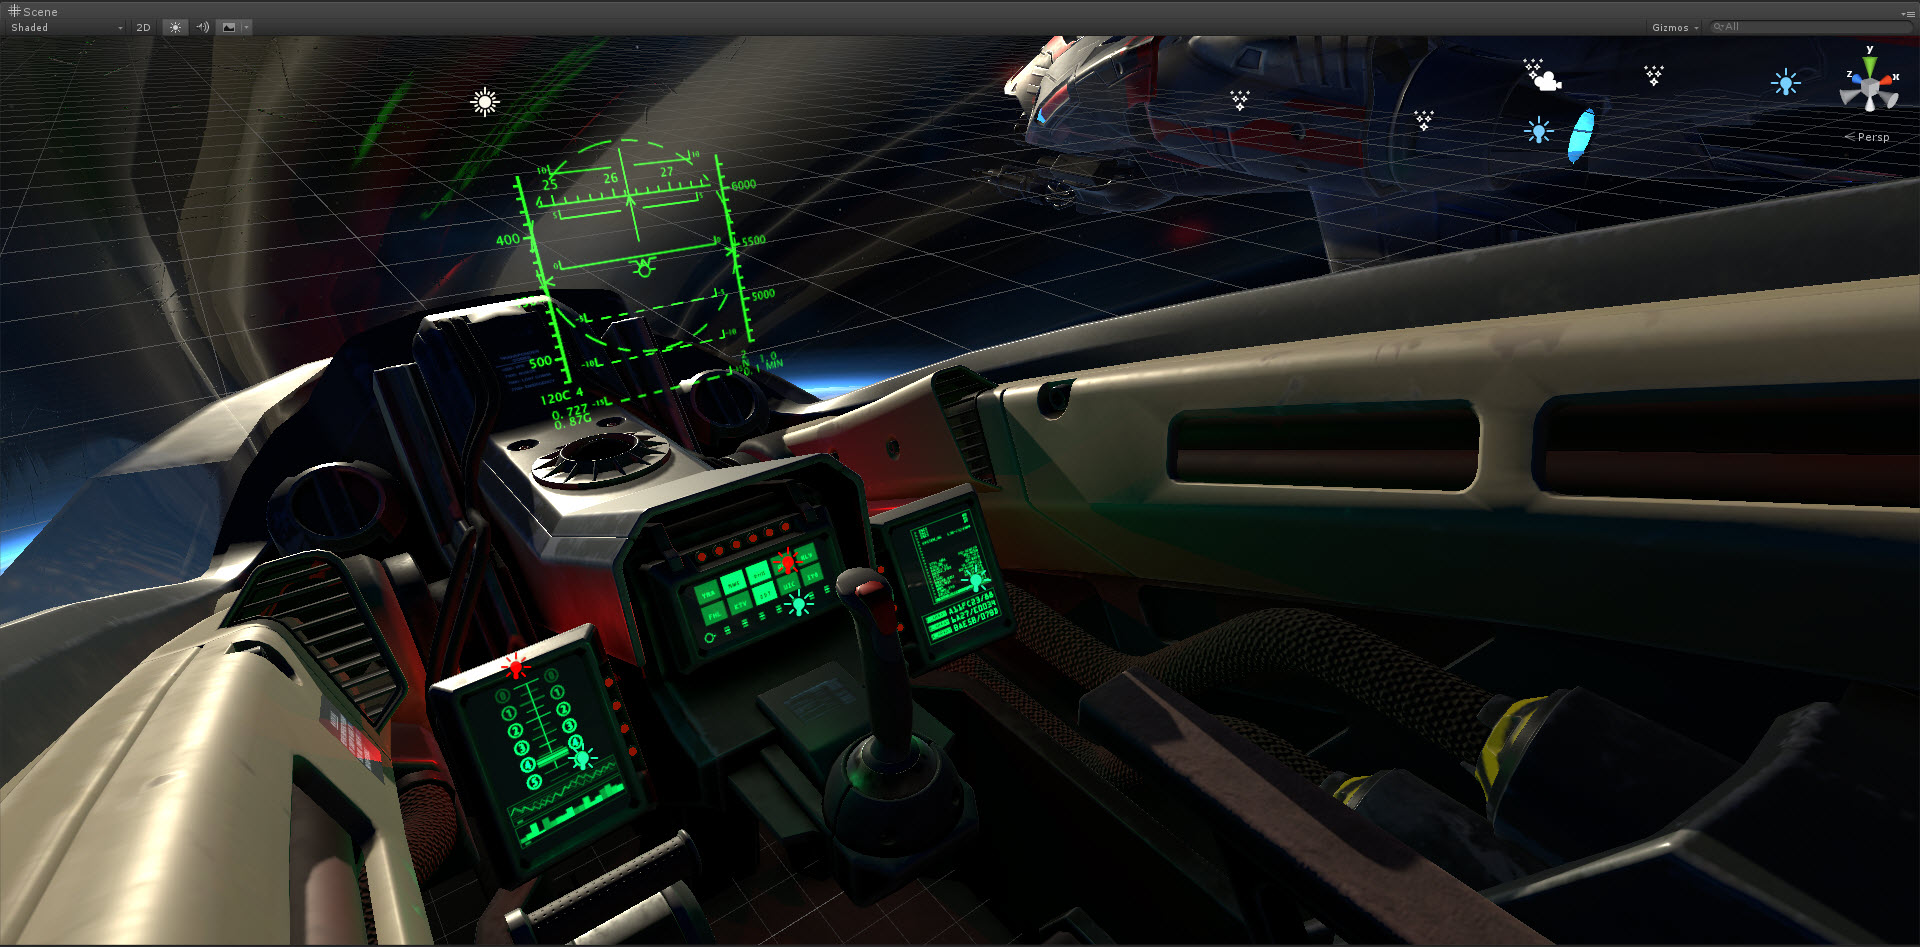
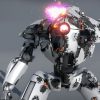
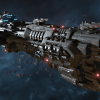
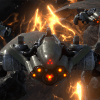
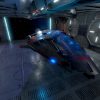
- Wasp Interdictor Ship Model
- VR-Ready Cockpit
- Head Camera Script
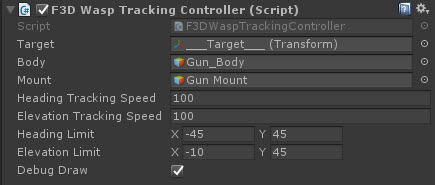
- Gun and Radar Tracking Controller
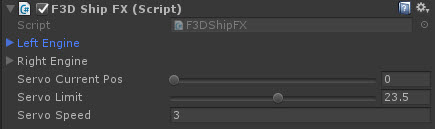
- Nozzle Flaps Controller
- Thruster Exhaust and Heat Haze Effects
- Terrestrial Prefab from Planets Pack
- Skybox Set (Stars, Nebulas)
- Customizable Skybox Shader
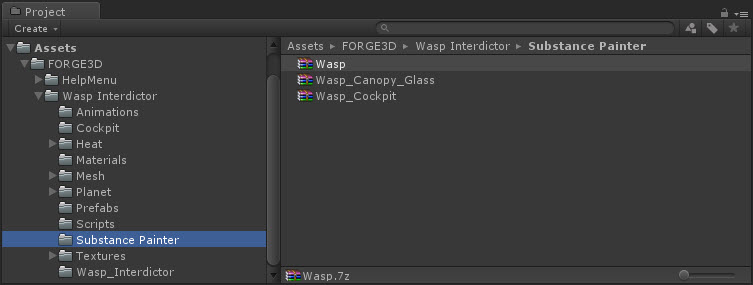
- 3 Substance Painter Sources (Ship, Cockpit, Canopy Glass)
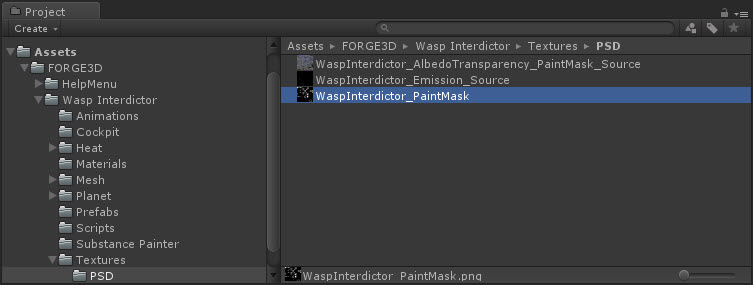
- PSD Paint Decals Template
- Ship and Cockpit Shake Animations